A Step-by-Step Guide on How to Make LED Lights
Introduction:
In the ever-evolving world of lighting technology, Light Emitting Diodes (LEDs) have emerged as the shining stars, revolutionizing the way we illuminate our surroundings. Making LED lights from scratch may seem like a daunting task reserved for experts, but with the right knowledge and materials, it becomes an accessible and rewarding endeavor. This comprehensive guide takes you through the intricacies of creating your own LED lights, exploring the fundamental principles, components, and step-by-step instructions to illuminate your space with a touch of DIY brilliance.
1. Understanding the Basics of LED Technology:
a. What are LEDs? Light Emitting Diodes (LEDs) are semiconductor devices that emit light when an electric current passes through them. Unlike traditional incandescent bulbs, LEDs are energy-efficient, durable, and capable of producing a wide spectrum of colors. LEDs have become the go-to choice for various lighting applications due to their longevity and reduced energy consumption.
b. How Do LEDs Work? LEDs operate based on the principle of electroluminescence. When an electric current is applied to the semiconductor material within the LED, it excites electrons, causing them to release photons and produce light. The color of the light emitted depends on the type of semiconductor material used.
2. Components Needed for Making LED Lights:
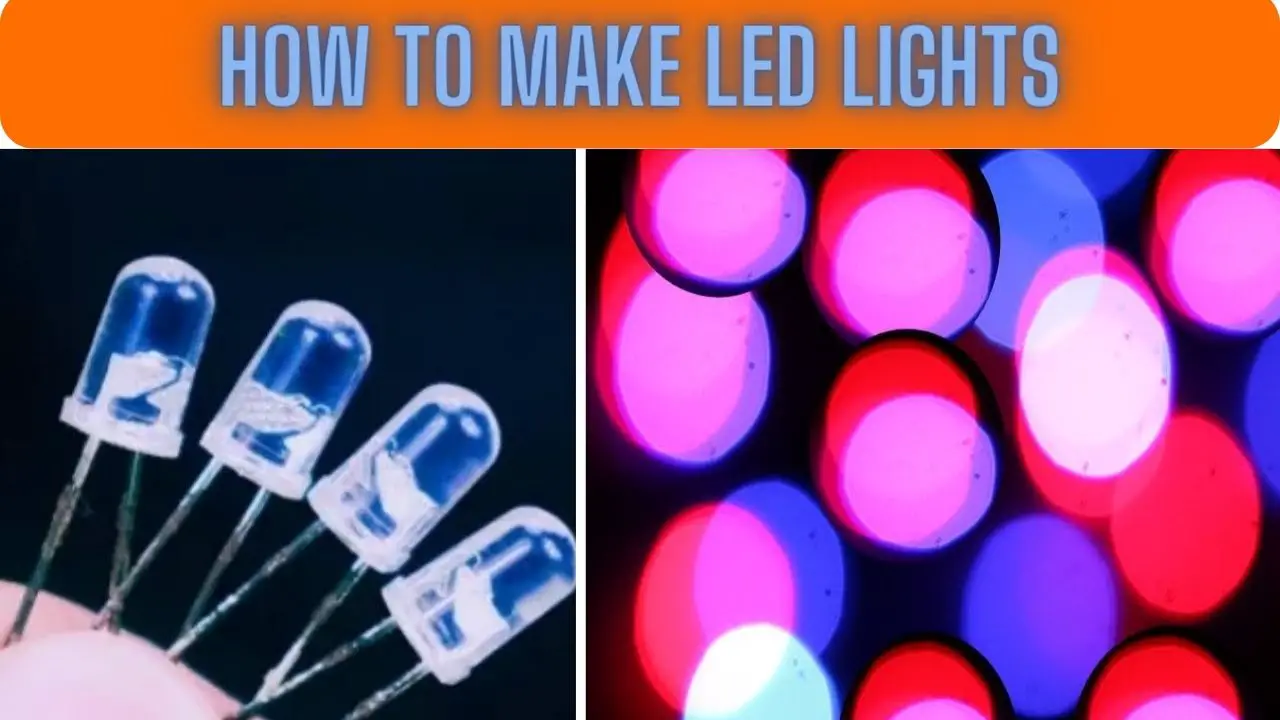
a. LED Components:
- LED Chips: The heart of the LED, these semiconductor chips emit light when powered.
- Cathode and Anode: The positive and negative terminals of the LED chip.
- Encapsulation: Protects the LED chip and provides optical properties.
b. Power Supply Components:
- Resistors: Control the flow of current to prevent LED burnout.
- Voltage Regulator: Stabilizes the voltage supplied to the LED.
- Heat Sink: Dissipates heat generated by the LED during operation.
c. Additional Materials:
- Printed Circuit Board (PCB): Provides a platform for mounting and connecting components.
- Soldering Equipment: Used to connect components on the PCB.
- Wires and Connectors: Transmit electric current between components.
- Enclosure: Housing for the LED assembly, providing protection and aesthetics.
3. Step-by-Step Guide on Making LED Lights:
a. Planning Your LED Project:
- Define Purpose: Determine the intended use of your LED lights (e.g., ambient lighting, task lighting, decorative lighting).
- Choose LED Type: Select LED chips based on color temperature, brightness, and application.
- Calculate Power Requirements: Estimate the power needed for your LEDs and select an appropriate power supply.
b. Designing the LED Circuit:
- LED Configuration: Decide on the series, parallel, or series-parallel configuration based on your power supply and LED specifications.
- Resistor Calculation: Calculate the resistor value using Ohm’s law to protect the LEDs from excess current.
- Voltage Regulation: If needed, incorporate a voltage regulator to stabilize the power supply.
c. Assembling the LED Circuit:
- Prepare the PCB: Layout the LED positions and soldering points on the PCB.
- Soldering LEDs: Solder the LED chips onto the PCB, ensuring proper polarity.
- Connect Resistors: Solder resistors in line with each LED to control the current.
- Attach Voltage Regulator: If using a voltage regulator, solder it onto the PCB.
- Wire Connections: Connect wires to the anode and cathode of each LED and to the power supply.
d. Testing the LED Circuit:
- Power On: Connect the LED circuit to the power supply and switch it on.
- Check LED Functionality: Ensure each LED lights up without flickering or abnormal behavior.
- Voltage Measurement: Measure the voltage across the LEDs to confirm proper operation.
- Adjustments: If necessary, make adjustments to resistor values or power supply voltage.
e. Adding Heat Dissipation:
- Heat Sink Attachment: Attach a suitable heat sink to dissipate heat from the LEDs.
- Thermal Paste: Apply thermal paste between the LED and the heat sink for efficient heat transfer.
f. Enclosing the LED Assembly:
- Choose an Enclosure: Select an enclosure that fits the LED assembly and suits the intended use.
- Drill Holes: Drill holes for power input, switches, and any additional features.
- Assemble Components: Place the LED circuit, power supply, and other components inside the enclosure.
- Secure Components: Secure components using screws, nuts, or other appropriate fasteners.
g. Final Testing and Quality Check:
- Final Power On: Connect the LED assembly to power and check for proper functioning.
- Inspect Connections: Ensure all solder joints, wire connections, and components are secure.
- Enclosure Integrity: Confirm that the enclosure provides proper protection and aesthetics.
h. Troubleshooting and Adjustments:
- Identify Issues: If any issues arise, identify the specific component or connection causing the problem.
- Adjustments: Make necessary adjustments to resistor values, solder joints, or other factors.
- Retest: Power on the LED assembly after adjustments to verify proper functioning.
4. Advanced LED Projects and Customizations:
a. RGB LED Systems:
- Additional LED Types: Incorporate Red, Green, and Blue (RGB) LEDs for color-changing capabilities.
- Microcontroller Integration: Use microcontrollers like Arduino to control and program RGB LED behavior.
b. Dimmable LED Lights:
- Dimmer Circuits: Include dimmer circuits to control the brightness of LEDs.
- Triac Dimming: Explore advanced dimming techniques like Triac dimming for smooth brightness adjustments.
c. Smart LED Systems:
- Microcontroller Integration: Integrate microcontrollers for smart functionalities.
- Wireless Connectivity: Explore adding wireless communication for remote control or automation.
d. Custom LED Displays:
- Matrix Arrangements: Design LED arrays for custom displays.
- Programming Patterns: Utilize microcontrollers to program intricate lighting patterns.
5. Safety Considerations and Best Practices:
a. Electrical Safety:
- Power Off During Assembly: Always disconnect the power supply when assembling or modifying the LED circuit.
- Insulate Connections: Ensure that exposed wires are insulated to prevent electrical shock.
b. Eye Protection:
- LED Brightness: LEDs can be bright, especially when multiple are used. Avoid looking directly at the light to protect your eyes.
c. Heat Management:
- Use Proper Heat Sinks: Ensure that heat sinks are appropriately sized and attached to prevent overheating.
- Thermal Paste Application: Apply thermal paste between the LED and heat sink for effective heat dissipation.
d. Component Selection:
- Quality Components: Choose high-quality LEDs, resistors, and other components to ensure longevity.
- Compatibility: Confirm compatibility between components to avoid issues during assembly.
e. Enclosure Safety:
- Ventilation: Provide adequate ventilation in the enclosure to prevent heat buildup.
- Secure Fastening: Securely fasten the enclosure to prevent accidental exposure to live components.
f. Compliance with Regulations:
- Research Local Regulations: Understand and comply with local regulations related to DIY electronics projects.
- EMC Considerations: Pay attention to Electromagnetic Compatibility (EMC) to avoid interference with other electronic devices.
6. Innovations in LED Technology and Future DIY Possibilities:
a. Emerging LED Technologies:
- OLED Technology: Explore the potential of Organic Light Emitting Diode (OLED) technology for flexible and efficient lighting.
- Quantum Dots: Investigate the use of Quantum Dot technology for enhanced color accuracy and efficiency.
b. Advanced DIY LED Projects:
- Integration with Sensors: Combine LED projects with sensors for applications like motion-activated lighting.
- Energy Harvesting: Explore energy harvesting techniques to power LEDs using ambient energy sources.
c. Collaborative DIY LED Communities:
- Online Platforms: Participate in online DIY communities to share knowledge and ideas.
- Collaborative Projects: Engage in collaborative projects with fellow DIY enthusiasts to push the boundaries of LED creativity.
7. FAQS
Can I make LED lights at home without specialized knowledge in electronics?
Yes, making LED lights at home is possible for beginners with a basic understanding of electronics. Start with simple projects and gradually advance as you gain experience.
What components do I need to make LED lights?
Essential components include LED chips, resistors, a power supply, a printed circuit board (PCB), wires, a heat sink, and an enclosure. Additional components may be required based on the complexity of your LED project.
Do I need to consider the color temperature of LEDs when making lights?
Yes, the color temperature of LEDs determines the warmth or coolness of the light. Choose LEDs with a color temperature that suits the intended lighting application, such as warm white for ambient lighting or cool white for task lighting.
Can I make custom shapes or designs with LED lights?
Yes, you can create custom shapes or designs with LED lights. Flexible LED strips and addressable LED modules allow for versatile designs. For more intricate shapes, consider using LED strips with cuttable segments.
How do I determine the appropriate resistor value for my LED circuit?
Use Ohm’s law (V = IR) to calculate the resistor value, where V is the voltage drop across the LED, I is the desired LED current, and R is the resistance. The formula for resistor value (in ohms) is R = (V_supply – V_LED) / I_LED.
Can I use a computer power supply for my LED project?
Yes, a computer power supply can be used for an LED project, but it’s essential to ensure compatibility with the voltage and current requirements of the LEDs. Some power supplies may need a minimum load to operate correctly.
How do I protect my eyes from the brightness of LEDs during assembly?
Avoid looking directly at the LEDs, especially when they are powered on. If working with exceptionally bright LEDs, consider using protective eyewear or positioning the LEDs to avoid direct eye exposure.
Can I make dimmable LED lights at home?
Yes, you can make dimmable LED lights by incorporating dimmer circuits into your design. Ensure that the LEDs and dimmer components are compatible, and follow proper wiring and configuration for dimming functionality.
What safety precautions should I take when making LED lights?
- Disconnect the power supply when assembling or modifying the LED circuit.
- Insulate exposed wires to prevent electrical shock.
- Use proper heat sinks and thermal paste to dissipate heat effectively.
- Securely fasten enclosures to prevent exposure to live components.
- Comply with local regulations related to DIY electronics projects.
Can I make RGB LED lights with color-changing capabilities at home?
Yes, you can make RGB LED lights by incorporating Red, Green, and Blue LEDs into your circuit. To achieve color-changing capabilities, use a microcontroller like Arduino to control and program the RGB LED behavior.
Are there online communities for DIY LED enthusiasts?
Yes, there are online platforms and communities where DIY LED enthusiasts share knowledge, ideas, and collaborate on projects. Participate in forums, social media groups, or dedicated DIY websites to connect with fellow enthusiasts.
Can I power LED lights using energy harvesting techniques?
Yes, energy harvesting techniques, such as solar panels or piezoelectric devices, can be explored to power LED lights using ambient energy sources. These techniques are particularly useful for outdoor or remote applications.
What is the difference between OLED and traditional LED technology?
OLED (Organic Light Emitting Diode) technology uses organic compounds that emit light when an electric current is applied. Traditional LEDs use inorganic semiconductor materials. OLEDs offer flexibility, allowing for curved displays and potentially thinner and lighter lighting solutions.
How do I troubleshoot common issues with DIY LED projects?
- Identify Issues: Diagnose the specific component or connection causing the problem.
- Adjustments: Make necessary adjustments to resistor values, solder joints, or other factors.
- Retest: Power on the LED assembly after adjustments to verify proper functioning.
Can I make LED lights with wireless control or automation at home?
Yes, you can incorporate wireless control or automation into your LED projects by integrating microcontrollers with wireless communication capabilities, such as Bluetooth or Wi-Fi.
Are there regulations or standards for DIY LED projects?
It’s essential to research and comply with local regulations related to DIY electronics projects. Consider Electromagnetic Compatibility (EMC) standards to avoid interference with other electronic devices.
How do I stay informed about advancements in LED technology for DIY projects?
Stay informed by following industry publications, websites, and forums related to DIY electronics and LED technology. Engage with online communities to share and gain knowledge from fellow enthusiasts.
Can I make custom LED displays for specific applications?
Yes, you can design custom LED displays for specific applications by arranging LEDs in matrix configurations. Use microcontrollers to program intricate lighting patterns for tailored visual effects.
Can I use different types of LEDs in the same project?
While it’s possible to use different types of LEDs in the same project, it’s crucial to consider their voltage, current, and color characteristics. Ensure compatibility and plan the circuit accordingly to avoid issues.
What are the advantages of making LED lights at home compared to buying pre-made ones?
- Customization: Create lights tailored to your specific preferences and applications.
- Learning Experience: Gain hands-on experience in electronics and LED technology.
- Cost Savings: Depending on the project, making LED lights at home can be cost-effective compared to purchasing pre-made solutions.
- Innovation: Explore and implement innovative features not readily available in commercial products.
Embarking on a DIY LED project opens up a world of creativity and exploration. By addressing these frequently asked questions and delving into the intricacies of LED technology, you can confidently undertake your LED journey, bringing light to your ideas and spaces.
Conclusion:
Embarking on the journey of making LED lights from scratch is not just a DIY project; it’s a hands-on exploration of the technology that illuminates our lives. From understanding the fundamentals of LED operation to assembling circuits, adding heat dissipation, and enclosing the assembly, this guide has illuminated the step-by-step process. Whether you’re creating ambient lighting, experimenting with RGB color effects, or delving into smart LED systems, the possibilities are as vast as your imagination.
As technology advances, DIY LED projects will continue to evolve, presenting opportunities for innovation and customization. With safety considerations, adherence to best practices, and an eye on emerging technologies, DIY enthusiasts can not only illuminate their spaces but also contribute to the ever-expanding realm of LED innovation. So, gather your components, wield your soldering iron, and let the glow of your handmade LED lights brighten the path to DIY enlightenment.
Also Check:
A Comprehensive Guide on Fixing Radio Interference from LED Lights