A Comprehensive Guide on How to Install LED Strip Lights
Introduction:
In the world of modern lighting design, LED strip lights have emerged as a versatile and energy-efficient solution to illuminate homes, businesses, and various spaces. Their flexibility, color options, and ease of installation make them a popular choice for individuals seeking to enhance their environments. In this comprehensive guide, we will delve into the intricacies of installing LED strip lights, covering everything from selecting the right type of strip to the step-by-step installation process.
I. Understanding LED Strip Lights:
Before delving into the installation process, it’s essential to have a basic understanding of LED strip lights and the various options available in the market.
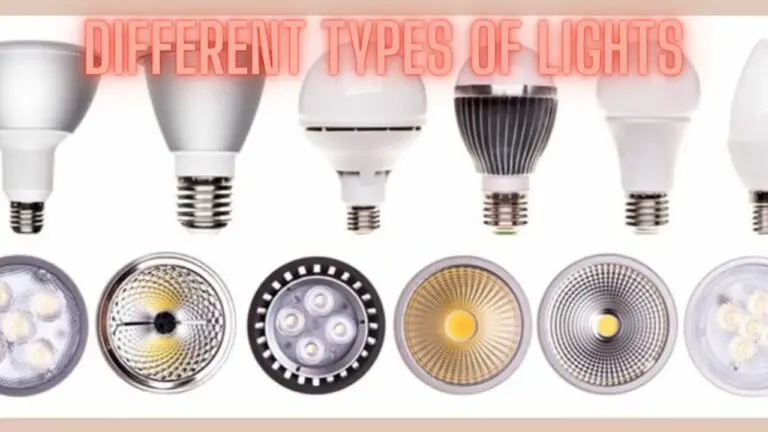
- Types of LED Strip Lights:
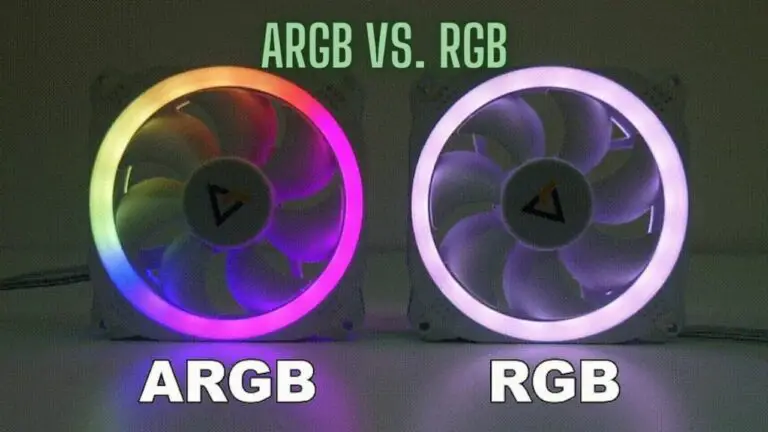
- RGB LED Strips: These strips allow you to produce a spectrum of colors, making them ideal for creative and dynamic lighting effects.
- Single-color LED Strips: Available in various hues, these strips provide a uniform and steady illumination.
- White LED Strips: These strips emit a warm or cool white light, suitable for general lighting purposes.
- LED Strip Components:
- LED Chip: The light-emitting diodes that produce the light.
- PCB (Printed Circuit Board): The substrate that holds the LEDs.
- Encapsulation: A protective layer covering the LEDs.
- Adhesive Backing: Many LED strips come with adhesive backing for easy installation.
II. Planning Your Installation:
- Selecting the Right Type of LED Strip:
- Consider the intended use (ambient lighting, accent lighting, or task lighting).
- Choose the appropriate color temperature (warm white, cool white, or RGB).
- Determine the length of the strip needed for the space.
- Power Requirements:
- Calculate the total wattage of the LED strips to determine the power supply requirements.
- Check the voltage compatibility between the LED strips and the power supply.
- Dimming and Control:
- Decide whether you want your LED strips to be dimmable.
- Choose a suitable control method, such as a remote control or a smart home system.
III. Step-by-Step Installation Guide:
Now that you’ve gathered all the necessary information, let’s move on to the step-by-step installation process.
- Gathering Tools and Materials:
- LED strip lights
- Power supply
- Controller (if applicable)
- Connectors and extension cables
- Mounting clips or adhesive clips
- Scissors or wire cutters
- Screwdriver
- Preparing the Installation Surface:
- Ensure the surface where you plan to install the LED strip is clean, dry, and free from dust.
- If needed, wipe the surface with a mild cleaning solution to improve adhesion.
- Measuring and Cutting:
- Measure the length of the installation area and cut the LED strip to the desired length.
- Use the designated cut lines on the strip, typically marked at regular intervals.
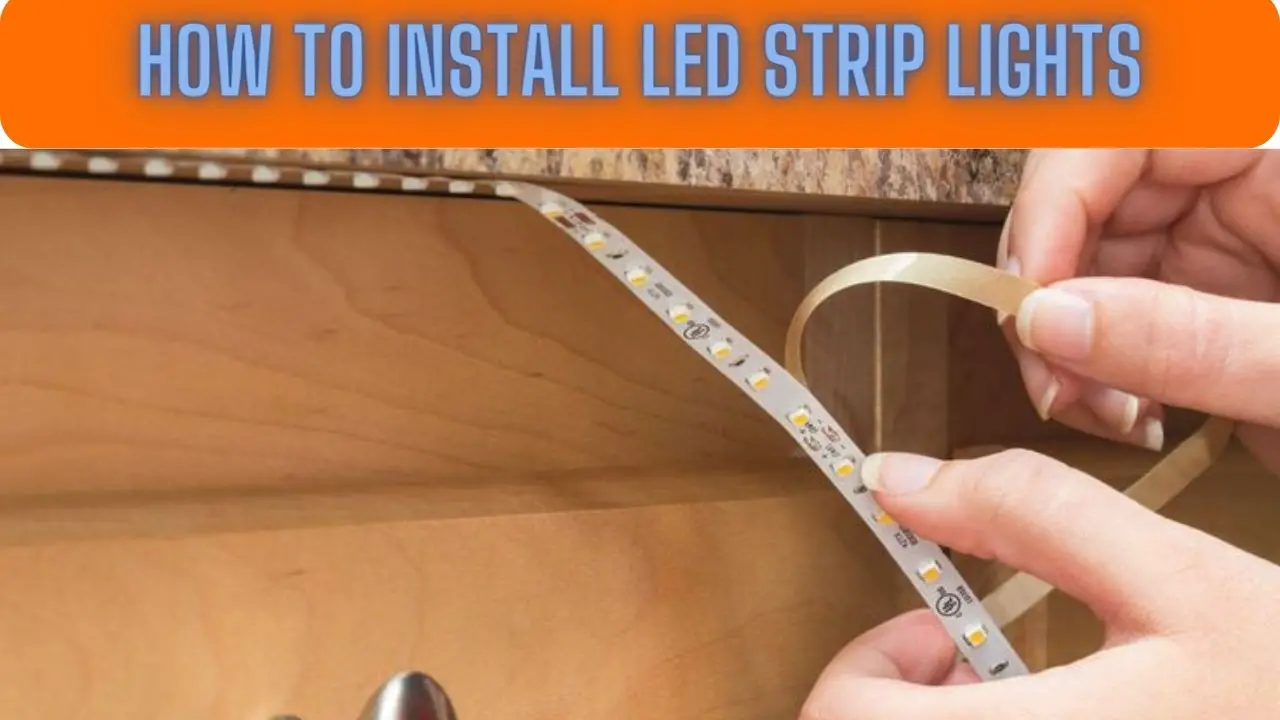
- Attaching the LED Strip:
- Peel off the protective backing from the adhesive side of the LED strip.
- Carefully attach the strip to the installation surface, applying gentle pressure to ensure a secure bond.
- Connecting LED Strips:
- If your installation requires multiple strips, use connectors to link them together.
- Follow the manufacturer’s guidelines for proper connection.
- Installing the Power Supply:
- Connect the power supply to the LED strip using the designated connectors.
- Ensure a secure connection and use cable clips to organize and secure the wiring.
- Mounting the Controller (If Applicable):
- If your LED strip comes with a controller, mount it in a convenient and accessible location.
- Connect the controller to the LED strip and power supply.
- Testing the Installation:
- Before finalizing the installation, test the LED strip to ensure proper functionality.
- Adjust any settings, such as color or brightness, using the controller.
- Securing the Wiring:
- Use cable clips or channels to secure and conceal the wiring along the installation path.
- Ensure that the wiring is not exposed and is protected against potential damage.
- Fine-Tuning and Adjustments:
- Make any necessary adjustments to the position of the LED strip for optimal lighting effects.
- Fine-tune the color, brightness, and other settings to achieve the desired ambiance.
IV. Troubleshooting and Maintenance:
- Troubleshooting Common Issues:
- Dim LEDs: Check for loose connections or insufficient power supply.
- Color Irregularities: Ensure proper connection and controller settings.
- Flickering Lights: Verify the compatibility of the LED strip with the power supply.
- Regular Maintenance:
- Periodically inspect the installation for any signs of wear or damage.
- Clean the LED strips and surrounding areas to maintain optimal brightness.
V. Things to Consider on How to Install LED Strip Lights
Installing LED strip lights can add a vibrant and customizable lighting solution to your space. However, to ensure a successful installation, there are several important factors to consider. Here is a comprehensive list of things to keep in mind when installing LED strip lights:
1. Purpose and Design:
- Define the purpose of the lighting installation (ambient lighting, accent lighting, task lighting).
- Plan the design and layout to achieve the desired aesthetic effect.
2. Type of LED Strip:
- Choose the appropriate type of LED strip for your needs (RGB for color-changing, single-color for uniform lighting).
- Consider the color temperature (warm white, cool white) based on the ambiance you want to create.
3. Power Supply and Voltage:
- Calculate the total power consumption of the LED strips to determine the required power supply.
- Ensure the voltage compatibility between the LED strips, connectors, and power supply.
4. Dimming and Control:
- Decide if you want the LED strips to be dimmable.
- Select a suitable control method, such as a remote control, wall dimmer, or smart home system.
5. Length and Cutting Points:
- Measure the length of the installation area accurately.
- Choose an LED strip with cutting points that align with the desired length.
6. Installation Surface:
- Ensure the surface where you plan to install the LED strip is clean, dry, and free from dust.
- If needed, prepare the surface with a mild cleaning solution for better adhesion.
7. Adhesive Quality:
- Check the quality of the adhesive on the back of the LED strip.
- If the surface is uneven or challenging, consider using additional mounting clips or adhesive clips.
8. Connectors and Extensions:
- Determine if you need connectors to link multiple strips together.
- Use extension cables if the distance between sections of the LED strip is too large.
9. Color Consistency:
- If using RGB LED strips, ensure color consistency across the entire installation.
- Test the LED strips before installation to identify any variations in color.
10. Heat Dissipation: – Consider the heat dissipation capabilities of the LED strips, especially in areas where they might be enclosed. – Allow for adequate ventilation to prevent overheating.
11. Accessibility for Controls: – Ensure that the controller (if applicable) is easily accessible for adjustments. – Consider using smart controllers for remote or app-based control.
12. Safety Measures: – Check that the LED strips and components are compliant with safety standards. – Avoid overloading circuits by adhering to the manufacturer’s recommended power supply.
13. Concealing Wiring: – Plan how to conceal wiring for a neat and professional appearance. – Use cable clips or channels to secure and hide wiring along the installation path.
14. Testing Before Finalizing: – Test the LED strips before permanently securing them to the surface. – Ensure that all connections are secure and that the lighting effects meet your expectations.
15. Potential Obstructions: – Identify potential obstructions or obstacles that could affect the placement of the LED strips. – Plan the installation to avoid shadows or uneven lighting caused by furniture or architectural features.
16. Maintenance Considerations: – Consider the accessibility for maintenance, especially if the LED strips are installed in hard-to-reach areas. – Plan for periodic cleaning to maintain optimal brightness.
By considering these factors, you can ensure a smooth and successful installation of LED strip lights, creating a well-lit and visually appealing environment tailored to your specific needs and preferences.
VI. FAQS
What tools do I need for installing LED strip lights?
A: The basic tools you may need include LED strip lights, a power supply, connectors (if applicable), a controller (if applicable), mounting clips or adhesive clips, scissors or wire cutters, and a screwdriver.
How do I determine the length of LED strip lights I need?
A: Measure the length of the area where you plan to install the LED strip lights. Most LED strips have designated cutting points, so choose a length that aligns with these points.
Can I cut LED strip lights to a specific length?
A: Yes, most LED strips have designated cut lines at regular intervals. Use scissors or wire cutters to cut the strip at these points to achieve the desired length.
How do I connect multiple sections of LED strip lights?
A: Use connectors to link multiple sections of LED strip lights together. Ensure that the connectors are compatible with the type of LED strip you are using.
What is the purpose of a controller for LED strip lights?
A: A controller is used to adjust settings such as color, brightness, and lighting effects. It is particularly important for RGB LED strips, allowing you to customize the color and create dynamic lighting effects.
Can LED strip lights be dimmed?
A: Some LED strips are dimmable. Ensure that both the LED strips and the power supply support dimming functionality. Use a compatible dimmer switch or controller to adjust brightness.
How do I mount LED strip lights?
A: LED strip lights typically come with adhesive backing. Peel off the protective backing and carefully attach the strip to a clean, dry, and dust-free surface. Alternatively, use mounting clips or adhesive clips for additional support.
Can I install LED strip lights in outdoor spaces?
A: Yes, there are waterproof and weather-resistant LED strip lights designed for outdoor use. Ensure that the product is explicitly labeled as suitable for outdoor installation.
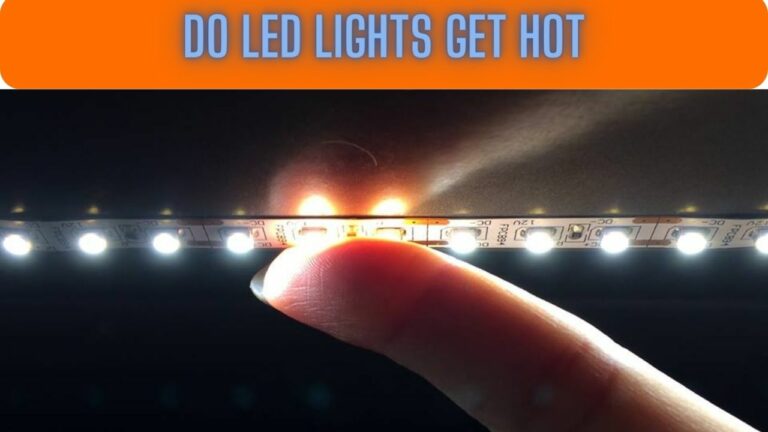
Do LED strip lights generate heat?
A: LED strip lights produce minimal heat compared to traditional lighting sources. However, it’s essential to allow for proper ventilation, especially in enclosed spaces, to prevent overheating.
What safety precautions should I consider during installation?
A: Adhere to safety guidelines provided by the manufacturer. Ensure that the LED strips and components comply with safety standards. Avoid overloading circuits and be mindful of potential fire hazards.
1Can I control LED strip lights with a smart home system?
A: Yes, many LED strip lights are compatible with smart home systems. Choose LED strips that support integration with popular smart home platforms and follow the manufacturer’s instructions for setup.
Q: How do I troubleshoot common issues with LED strip lights?
A: If facing issues like dim LEDs, color irregularities, or flickering lights, check for loose connections, ensure proper power supply, and verify controller settings. Refer to the manufacturer’s troubleshooting guide.
Q: Can I cut and reconnect LED strip lights?
A: Yes, you can cut LED strip lights at designated cutting points and reconnect them using connectors. Ensure a secure connection to maintain proper functionality.
Q: How do I maintain LED strip lights for optimal performance?
A: Periodically inspect the installation for signs of wear or damage. Clean the LED strips and surrounding areas to remove dust and debris, maintaining optimal brightness.
Can I install LED strip lights behind furniture or other obstacles?
A: Yes, you can install LED strip lights behind furniture or architectural features. However, plan the installation to avoid shadows or uneven lighting caused by obstructions.
Are there specific considerations for installing LED strip lights in commercial spaces?
A: In commercial spaces, consider factors such as the required lighting levels, color temperature, and the need for advanced control systems. Ensure compliance with commercial building codes and safety regulations.
VII. Conclusion:
In conclusion, installing LED strip lights can transform a space, providing versatile and energy-efficient lighting solutions. By understanding the different types of LED strips, planning your installation, and following a step-by-step guide, you can enjoy the benefits of customizable and aesthetically pleasing lighting. Whether you’re enhancing your home, office, or commercial space, the process of installing LED strip lights is an exciting journey into the world of modern illumination. So, illuminate your spaces and let the light guide you through a well-lit and visually appealing environment.