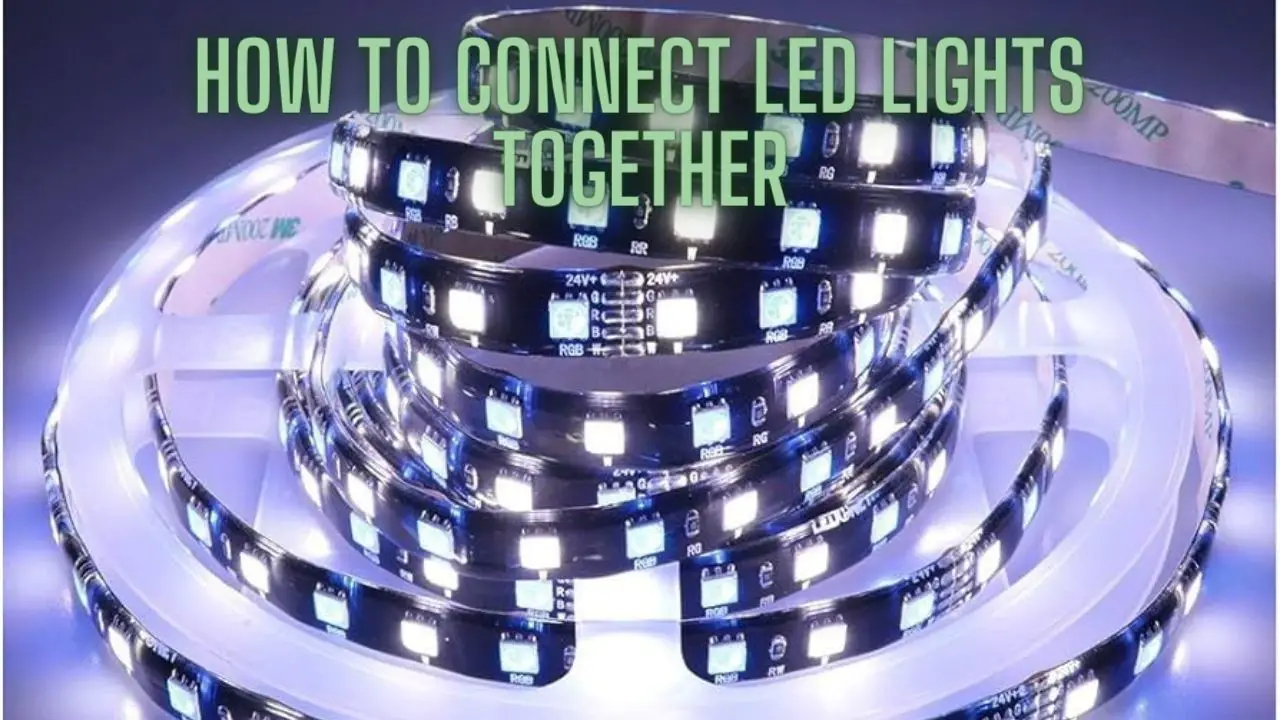
A Comprehensive Guide on How to Connect LED Lights Together
Introduction
Light-emitting diode (LED) lights have revolutionized the world of lighting with their energy efficiency, durability, and versatility. One of the key advantages of LED lights is the ease with which they can be connected and customized to create unique and dynamic lighting setups. Whether you’re planning to enhance your home’s ambiance, set the mood for a special occasion, or add flair to a workspace, understanding how to connect LED lights together is the first step towards unlocking the full potential of this innovative lighting technology.
Understanding LED Basics
A. Components of LED Lights:
- LED Chips: The actual light-emitting components that produce illumination.
- Driver/Power Supply: Converts AC power to the DC power needed for LEDs and regulates the current to ensure stable operation.
- Circuit Board: Houses the LED chips and facilitates the electrical connections.
- Connectors: Points where you can link LED strips or other components together.
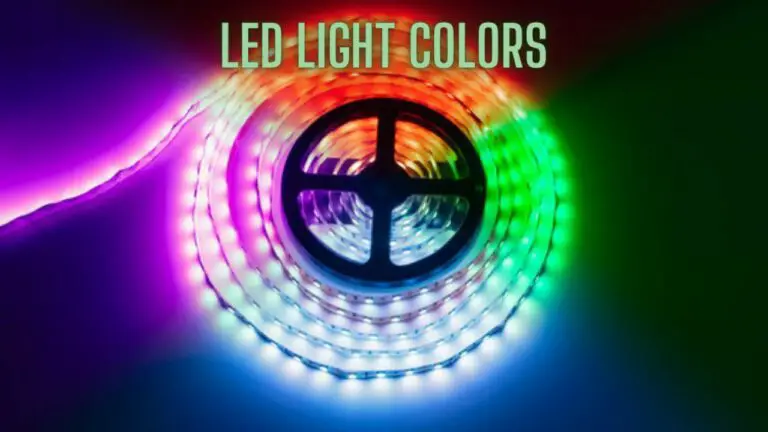
B. Types of LED Strips:
- Single-Color LED Strips: Emit light in a single color (commonly white, warm white, red, green, or blue).
- RGB LED Strips: Include red, green, and blue LEDs, allowing the creation of a wide spectrum of colors.
- RGBW LED Strips: Combine RGB LEDs with a dedicated white LED for a broader color range and better white tones.
Tools and Materials Needed
A. Tools:
- Scissors or Wire Cutters: For trimming LED strips to the desired length.
- Soldering Iron and Solder: Used to make secure electrical connections.
- Wire Strippers: To strip the insulation from wires for soldering.
- Multimeter: Helps test for continuity, voltage, and resistance in circuits.
B. Materials:
- LED Strips: Choose the type and color of LED strips based on your project requirements.
- Connectors: Various types are available, such as solderless connectors, connectors with wires, and corner connectors.
- Power Supply: Ensure the power supply matches the voltage and wattage requirements of your LED strips.
- Extension Wires: If needed to extend the distance between LED strips.
- Controller (for RGB or RGBW setups): Enables color-changing effects and customization.
Step-by-Step Guide on Connecting LED Lights
A. Planning Your LED Setup:
- Determine the Layout: Decide where you want to place the LED strips and plan the layout accordingly.
- Calculate Power Requirements: Ensure your power supply can handle the total wattage of all connected LED strips. Check the wattage per meter of your LED strips and calculate accordingly.
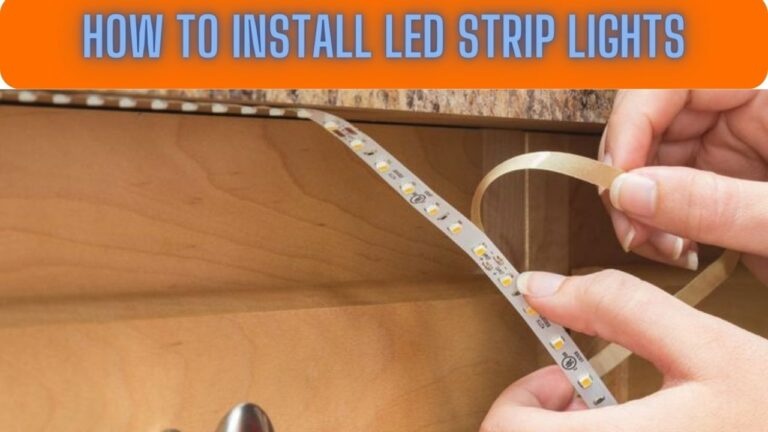
B. Cutting and Preparing LED Strips:
- Trimming to Length: Use scissors or wire cutters to trim LED strips to the desired length, following the designated cutting points.
- Preparing the Ends: Strip a small section of the insulation from the cut ends of the LED strips to expose the copper contacts.
C. Connecting LED Strips with Solderless Connectors:
- Open the Connector: For solderless connectors, open the connector and slide the LED strip into the slot, ensuring the copper contacts align with the connector pins.
- Close and Secure: Close the connector, ensuring a secure connection. Repeat for additional strips or connectors.
D. Soldering LED Strips for a Permanent Connection:
- Tinning the Wires: Apply a small amount of solder to the stripped ends of the LED strip and the connector wires.
- Connecting with Solder: Place the tinned wires together and apply the soldering iron to create a secure and permanent connection.
E. Adding Extension Wires:
- Cutting Extension Wires: Cut extension wires to the desired length, ensuring they are long enough to bridge the gap between LED strips.
- Connecting Extension Wires: Use soldering or connectors to join the extension wires to the cut ends of the LED strips.
F. Connecting to a Power Supply:
- Identifying Positive and Negative Terminals: LED strips usually have markings indicating positive (+) and negative (-) terminals.
- Connecting to the Power Supply: Match the positive and negative terminals of the LED strips with those of the power supply. Use connectors or soldering as needed.
G. Using Controllers for RGB or RGBW LED Strips:
- Connecting the Controller: Plug the RGB or RGBW controller into the connector on the LED strip.
- Powering the Controller: Connect the controller to the power supply, ensuring it matches the voltage requirements.
H. Testing the Setup:
- Power On: Turn on the power supply and check if the LED strips light up.
- Color Changing (for RGB setups): Test the color-changing capabilities using the controller.
Common Issues and Troubleshooting
A. Uneven Lighting:
- Cause: Uneven lighting may result from poor connections or differences in the quality of LEDs.
- Solution: Double-check connections, use high-quality connectors, and purchase LED strips from reputable manufacturers.
B. LEDs Not Lighting Up:
- Cause: This issue may stem from a faulty connection, power supply problems, or defective LEDs.
- Solution: Check and redo the connections, ensure the power supply is functioning correctly, and replace any faulty components.
C. Color Inconsistency (for RGB setups):
- Cause: Inconsistent colors may result from a controller issue, poor connections, or variations in LED quality.
- Solution: Verify the controller settings, improve connections, and use high-quality components.
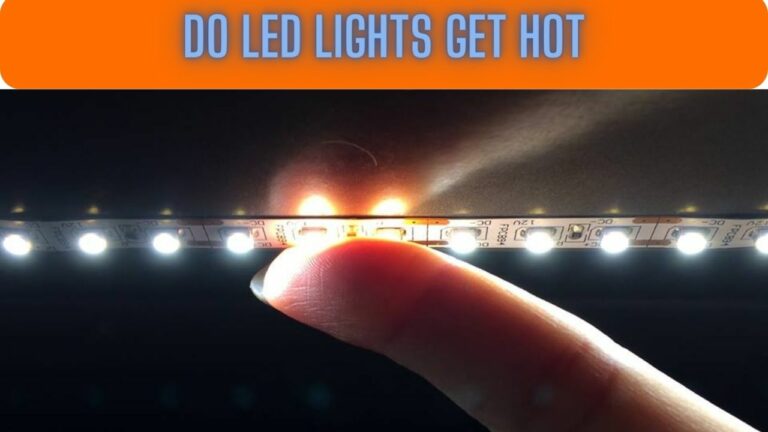
D. Overheating:
- Cause: Overheating can occur if the LED strips are run at a wattage higher than the recommended limit.
- Solution: Use an appropriate power supply, ensure proper ventilation, and avoid exceeding the recommended wattage.
Advanced LED Connections
A. Parallel vs. Series Connections:
- Parallel Connection: Each LED strip is connected directly to the power source, offering equal brightness to all strips.
- Series Connection: LED strips are connected end to end, with a single connection to the power source. Voltage drop can occur, affecting brightness.
B. Using Amplifiers:
- Purpose: Amplifiers can be used in large installations to boost the signal and maintain consistent brightness, especially in RGB setups.
- Installation: Amplifiers are connected between LED strips, and their power supply is separate from the main power source.
C. WiFi or Bluetooth Controllers:
- Advantages: WiFi or Bluetooth controllers allow wireless control of LED setups through mobile apps.
- Installation: Follow the manufacturer’s instructions to connect the controller to the LED strips and configure the wireless settings.
Creative LED Applications
A. Under-Cabinet Lighting:
- Use LED strips to illuminate kitchen counters or under cabinets for improved visibility and a modern aesthetic.
B. Accent Lighting:
- Highlight architectural features, artwork, or specific areas with strategically placed LED strips.
C. DIY Signage:
- Create custom signage or lettering by arranging LED strips in desired shapes and connecting them accordingly.
D. Smart Home Integration:
- Integrate LED setups with smart home systems for voice-controlled or automated lighting scenarios.
FAQS
1. Can I connect LED strips of different colors together?
- While it’s technically possible, it’s not recommended. LED strips of different colors may have different voltage and current requirements, leading to uneven brightness and potential damage. Stick to connecting LED strips of the same color and specifications for optimal performance.
2. Do I need a soldering iron to connect LED lights?
- Not necessarily. Many LED strips come with solderless connectors, making it easy to connect them without soldering. However, for a more secure and permanent connection, especially when dealing with cut ends or intricate setups, a soldering iron can be beneficial.
3. What is the maximum length of LED strips I can connect together?
- The maximum length of LED strips you can connect together depends on the voltage drop, which can reduce brightness over longer lengths. It’s advisable to refer to the manufacturer’s guidelines and use amplifiers or additional power sources for extensive installations.
4. Can I connect LED strips in a zigzag pattern?
- Yes, you can create a zigzag pattern by connecting LED strips in a non-linear fashion. Ensure that you maintain proper polarity and follow the manufacturer’s guidelines to prevent voltage drop issues.
5. Are there wireless options for controlling connected LED lights?
- Yes, there are wireless controllers, often using WiFi or Bluetooth technology, that allow you to control LED lights through mobile apps or smart home systems. These controllers offer convenience and flexibility in managing your LED setups.
6. How do I troubleshoot uneven lighting in my LED setup?
- Uneven lighting can result from poor connections, variations in LED quality, or power supply issues. Check and improve your connections, use high-quality components, and ensure that the power supply matches the specifications of your LED strips.
7. Can I connect LED lights directly to the mains?
- No, LED lights typically require a power supply or driver to convert the mains voltage to the appropriate voltage for the LEDs. Connecting LED lights directly to the mains can damage the LEDs and pose safety risks.
8. What’s the difference between parallel and series connections for LED strips?
- Parallel Connection: Each LED strip is connected directly to the power source, ensuring equal brightness for all strips.
- Series Connection: LED strips are connected end to end, with a single connection to the power source. Voltage drop can occur, leading to variations in brightness.
9. How do I calculate the power requirements for my LED setup?
- Calculate the total power (wattage) by multiplying the wattage per meter of each LED strip by the total length of the strips. Ensure that your power supply can handle this total wattage, considering a margin for safety.
10. Can I connect different brands of LED strips together?
- While it’s possible, it’s not always recommended. Different brands may have variations in voltage, current requirements, and connector types. For consistent performance, it’s advisable to stick to LED strips from the same brand or ensure compatibility between different brands.
11. What should I do if my LED strips are not lighting up?
- Check for faulty connections, ensure the power supply is functioning correctly, and inspect the LEDs for any defects. It’s also helpful to refer to the manufacturer’s troubleshooting guide for specific recommendations.
12. Can I cut and reconnect LED strips multiple times?
- In most cases, yes. LED strips are designed to be cut at specific intervals, and you can reconnect them using solderless connectors or soldering. However, frequent cutting and reconnecting may affect the overall integrity of the strips, so do so judiciously.
Conclusion
Mastering how to connect LED lights together opens the door to a world of creative possibilities. From enhancing the ambiance of your living spaces to adding practical illumination in various settings, the flexibility and versatility of LED lights make them an ideal choice for DIY projects.
Remember to plan your setup carefully, choose high-quality components, and follow safety guidelines. Whether you’re a seasoned DIY enthusiast or a beginner looking to embark on your first LED project, the satisfaction of creating a personalized and vibrant lighting experience is well worth the effort. Illuminate your surroundings, unleash your creativity, and let the brilliance of connected LED lights transform your spaces into visually stunning and dynamic environments.