Home Automation with Raspberry Pi: Controlling Electrical Sockets via Radio Waves
Introduction
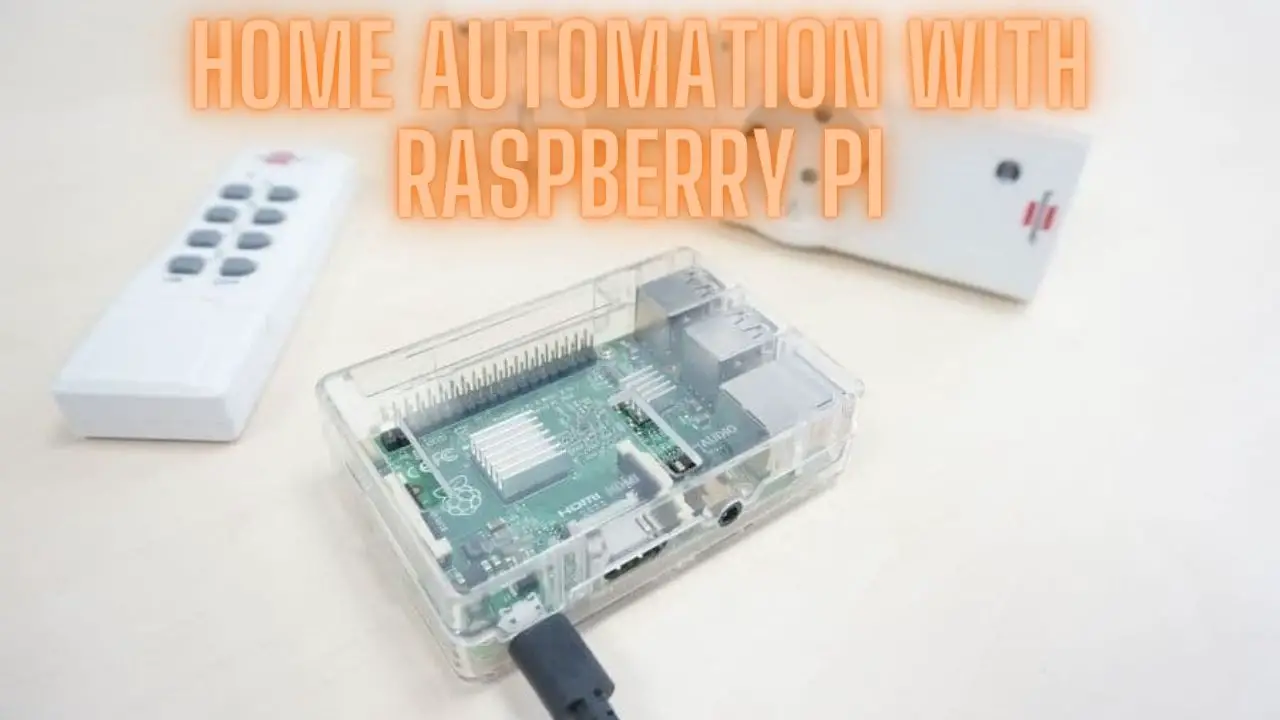
Home automation has become increasingly popular, allowing homeowners to control various aspects of their homes remotely. One exciting and practical project involves using a Raspberry Pi, a versatile and affordable single-board computer, to control electrical sockets wirelessly using radio-controlled sockets. In this article, we will explore how you can set up and use radio-controlled sockets with a Raspberry Pi to enhance your home automation capabilities.
Raspberry Pi: A Versatile Mini-Computer Revolutionizing DIY Projects
The Raspberry Pi, often referred to as the “Pi,” is a credit card-sized single-board computer that has taken the world by storm since its initial release in 2012. Designed and developed by the Raspberry Pi Foundation, this affordable and versatile mini-computer has become a cornerstone of the do-it-yourself (DIY) electronics and maker communities. In this article, we’ll explore the Raspberry Pi’s features, capabilities, and the myriad of exciting projects it has enabled.
The Raspberry Pi: A Brief Overview
The Raspberry Pi was created with the goal of providing an accessible and affordable computing platform for educators, students, hobbyists, and professionals. Key features include:
- Compact Size: The Raspberry Pi’s credit card-sized form factor makes it portable and easy to integrate into a wide range of projects.
- Affordable Price: Raspberry Pi boards are incredibly cost-effective, with models available at various price points, making them accessible to a broad audience.
- Multiple Models: Over the years, the Raspberry Pi Foundation has released several models, each with varying capabilities and specifications, catering to different project requirements.
- GPIO Pins: All Raspberry Pi models come with GPIO (General Purpose Input/Output) pins, allowing users to interact with external hardware and sensors.
- Operating Systems: The Raspberry Pi supports various operating systems, including the Raspberry Pi OS (formerly Raspbian), Linux distributions, and even Windows 10 IoT Core.
Popular Uses and Projects with Raspberry Pi
- Educational Tool: The Raspberry Pi has been instrumental in teaching programming and computer science concepts in classrooms worldwide. It serves as an ideal platform for students to learn coding and electronics.
- Media Center: Many users transform their Raspberry Pi into a media center using platforms like Kodi. This allows them to stream movies, TV shows, and music to their TVs.
- Retro Gaming Console: With emulation software, Raspberry Pi can emulate classic gaming consoles, enabling users to play retro video games on their TVs.
- Home Automation: Raspberry Pi plays a central role in DIY home automation projects. Users can build smart lighting systems, security cameras, and more.
- Robotics: The GPIO pins and the ability to connect sensors and motors make Raspberry Pi a favored choice for robotics enthusiasts. You can build robots for education, exploration, or fun.
- Weather Stations: Raspberry Pi can be used to create weather stations that collect and display data like temperature, humidity, and barometric pressure.
- Network Attached Storage (NAS): Turn your Raspberry Pi into a NAS server, allowing you to store and access files on your home network.
- IoT (Internet of Things): Raspberry Pi is ideal for IoT projects, allowing you to monitor and control devices remotely via the internet.
Getting Started with Raspberry Pi
If you’re new to Raspberry Pi, here are the basic steps to get started:
- Acquire a Raspberry Pi: Choose a Raspberry Pi model that suits your needs. The Raspberry Pi 4 is the latest and most powerful version as of my knowledge cutoff date in September 2021.
- Prepare a MicroSD Card: You’ll need a microSD card to store the operating system and your projects. Download the Raspberry Pi OS and flash it onto the microSD card using software like Etcher.
- Connect Peripherals: Connect a keyboard, mouse, monitor (or TV), and power supply to your Raspberry Pi.
- Boot and Configure: Insert the microSD card, power on the Raspberry Pi, and follow the on-screen prompts to set up your system.
- Start Exploring: Once your Raspberry Pi is up and running, you can start exploring the wide range of projects and resources available in the Raspberry Pi community.
Home Automation with Raspberry Pi
Components You Will Need
Before you get started, make sure you have the following components:
- Raspberry Pi: You can use any Raspberry Pi model, but the Raspberry Pi 3 or newer is recommended for its built-in wireless capabilities.
- Radio Transmitter and Receiver: You’ll need a compatible radio transmitter and receiver pair. Common options include 433MHz or 315MHz modules.
- Radio-Controlled Sockets: Purchase compatible radio-controlled sockets or outlets that can receive commands from the transmitter.
- Jumper Wires: To connect the transmitter and receiver to the Raspberry Pi’s GPIO pins.
- Power Supply: Ensure your Raspberry Pi has a stable power supply.
Setting Up the Hardware
- Connect the Transmitter: Wire the transmitter module to the Raspberry Pi’s GPIO pins. Typically, you’ll need to connect VCC to 3.3V, GND to a ground pin, and DATA to a GPIO pin (e.g., GPIO 17).
- Connect the Receiver: Connect the receiver module to the Raspberry Pi in a similar manner. VCC goes to 5V, GND to a ground pin, and DATA to a GPIO pin (e.g., GPIO 27).
- Power Up Your Raspberry Pi: Ensure your Raspberry Pi is powered up and connected to your local network.
Programming the Raspberry Pi
To control the radio-controlled sockets, you’ll need to write Python scripts that send signals through the transmitter module and receive signals through the receiver module. You can use libraries like “rpi_rf” for this purpose.
Here’s a simplified example of how you can turn a radio-controlled socket on and off using a Raspberry Pi:
import RPi.GPIO as GPIO
import time
from rpi_rf import RFDevice
Set up the RF transmitter
rf_device = RFDevice(17)
rf_device.enable_tx()
Define the ON and OFF signals for your socket
on_signal = 12345
off_signal = 54321
Function to send the ON signal
def turn_on_socket():
rf_device.tx_code(on_signal, 1, 350)
Function to send the OFF signal
def turn_off_socket():
rf_device.tx_code(off_signal, 1, 350)
Example: Turn the socket ON for 5 seconds
turn_on_socket()
time.sleep(5)
turn_off_socket()
Cleanup
rf_device.cleanup()
This is a basic example, and you’ll need to adapt it to match the specific transmitter and receiver modules you’re using and the signals they require.
Creating Home Automation Scenarios
With your Raspberry Pi and radio-controlled sockets set up, you can create various home automation scenarios. For example:
- Remote Lighting Control: Control lights in your home by sending commands to the corresponding radio-controlled sockets.
- Appliance Control: Connect appliances like fans, heaters, or coffee makers to radio-controlled sockets for remote operation.
- Smart Power Strips: Use multiple sockets on a smart power strip to control multiple devices simultaneously.
- Home Security: Integrate radio-controlled sockets with motion sensors or door/window sensors for enhanced home security.
FAQS
What is home automation, and how can Raspberry Pi be used for it?
Home automation involves using technology to control and automate household tasks and devices, such as lighting, heating, security systems, and entertainment systems. Raspberry Pi can be used for home automation by acting as a central control hub, connecting and managing various smart devices and sensors in your home.
What makes Raspberry Pi suitable for home automation projects?
Raspberry Pi’s affordability, compact size, GPIO pins for hardware interfacing, and a wide range of supported operating systems make it an ideal platform for home automation. Its flexibility allows you to customize and expand your automation setup as needed.
What types of home automation projects can I create with Raspberry Pi?
Raspberry Pi can be used for various home automation projects, including:
- Smart lighting control
- Home security systems with cameras and sensors
- Temperature and climate control
- Automated pet feeders
- Media centers
- Smart doorbells
- Voice-controlled assistants
- Remote power outlets
- Irrigation systems
- Energy monitoring
Do I need programming or electronics experience to start home automation with Raspberry Pi?
While programming and electronics experience can be helpful, Raspberry Pi offers resources and tutorials for beginners. You can start with simple projects and gradually build your skills. Many home automation projects have step-by-step guides available online.
What operating system should I use on my Raspberry Pi for home automation?
The Raspberry Pi OS (formerly Raspbian) is a popular choice due to its compatibility and user-friendly interface. However, you can use other Linux distributions or specialized home automation platforms like Home Assistant, OpenHAB, or Domoticz.
Can I control my home automation projects remotely with Raspberry Pi?
Yes, you can control your Raspberry Pi-based home automation projects remotely by setting up remote access using technologies like SSH or VPN. This allows you to monitor and control your devices from anywhere with an internet connection.
Are there any security concerns with home automation using Raspberry Pi?
Security is a critical consideration in home automation. Ensure you follow best practices, such as using strong passwords, keeping software up to date, and implementing encryption for remote access. Isolate your home automation network from your primary network to enhance security.
Can I integrate voice control into my Raspberry Pi home automation projects?
Yes, you can integrate voice control using voice recognition software like Google Assistant, Amazon Alexa, or open-source solutions like Mycroft AI. This allows you to control devices and issue commands through voice commands.
Are there limitations to what I can achieve with Raspberry Pi in home automation?
While Raspberry Pi is versatile, it may have limitations in terms of processing power and compatibility with certain devices. Some complex automation tasks may require more powerful hardware. However, for most home automation projects, Raspberry Pi is sufficient.
Where can I find resources and tutorials for Raspberry Pi home automation projects?
You can find a wealth of resources and tutorials on the official Raspberry Pi website, as well as on forums, blogs, and community-driven websites. Sites like GitHub and YouTube also offer a wide range of project ideas and guides.
Conclusion
Setting up radio-controlled sockets with a Raspberry Pi offers a cost-effective way to enhance your home automation system. Whether you want to control lights, appliances, or other devices remotely, this DIY project allows you to tailor your home automation setup to your specific needs and preferences. With the right programming and creativity, you can transform your home into a more efficient and convenient living space.