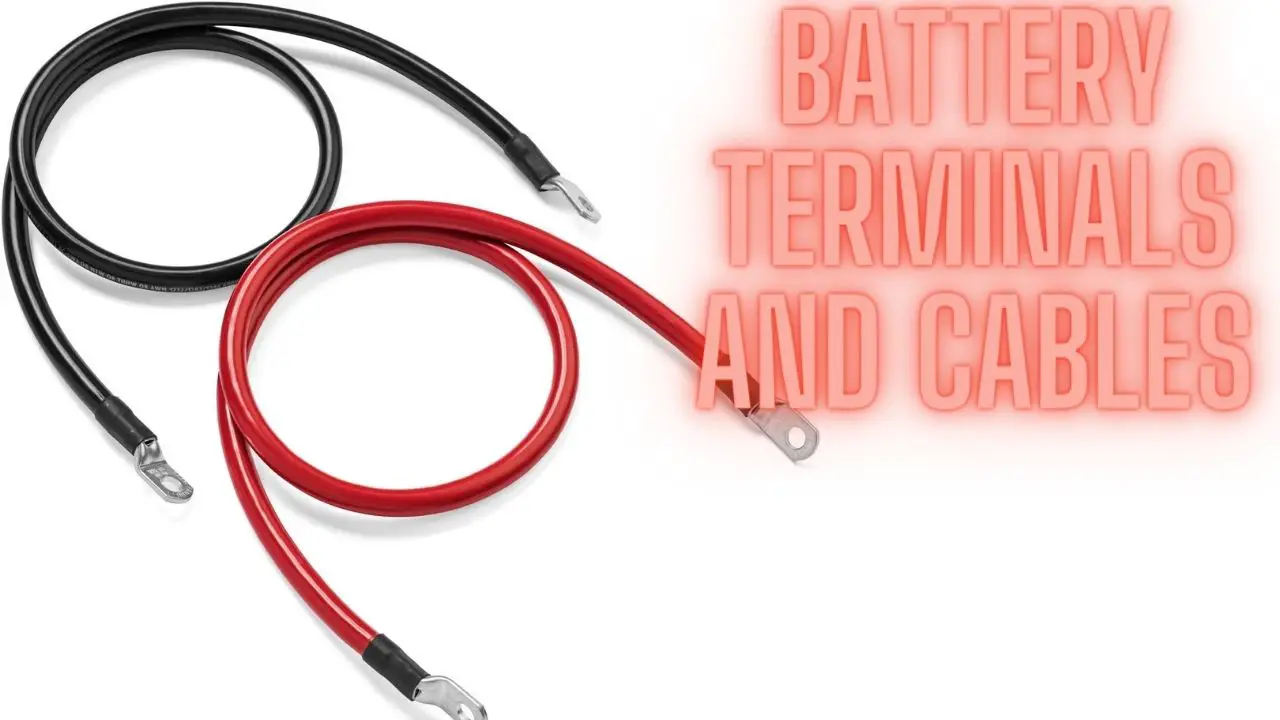
Battery Terminals and Cables: Is Red Positive or Negative?
Introduction
Regarding your vehicle’s electrical system, one crucial but often overlooked component is the battery terminals and cables. These unassuming parts play a vital role in ensuring your vehicle starts reliably and operates smoothly. In this article, we will delve into the importance of battery terminals and cables, their types, maintenance, and how they impact your vehicle’s performance.
The Role of Battery Terminals and Cables
Battery terminals and cables serve as the essential link between your vehicle’s battery and the electrical system. Their primary functions include:
- Conducting Electricity: Battery terminals and cables are responsible for conducting electrical energy from the battery to power various components in your vehicle, such as the starter motor, lights, ignition system, and accessories.
- Starting the Engine: When you turn the key to start your vehicle, the battery terminals and cables facilitate the flow of electricity from the battery to the starter motor, allowing it to crank the engine and get it running.
- Charging the Battery: While the engine is running, the alternator generates electricity and charges the battery. Again, battery cables play a crucial role in ensuring that this electrical energy flows efficiently to replenish the battery.
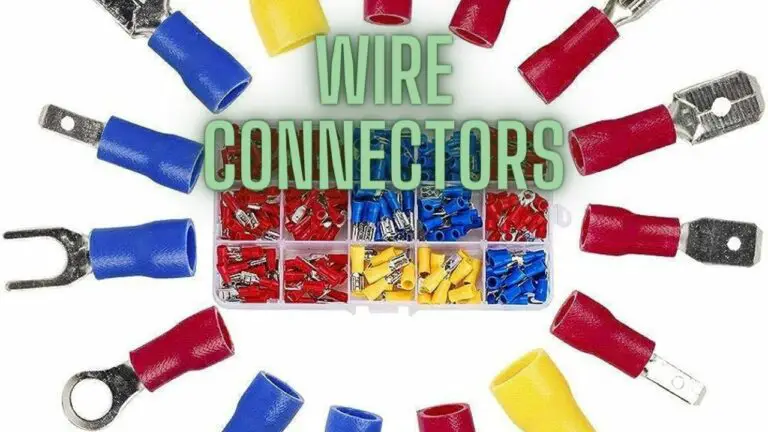
Types of Battery Terminals and Cables
- Battery Terminals:
- Top-Post Terminals: These are the most common terminals found in most vehicles. They are simple, with a positive terminal usually larger than the negative terminal.
- Side-Post Terminals: Commonly used in some modern vehicles, these terminals are located on the side of the battery.
- Marine Terminals: These are designed for marine and recreational vehicles, featuring a wingnut for easy installation and removal.
- Battery Cables:
- Battery-to-Starter Cable: This heavy-duty cable connects the positive terminal of the battery to the starter motor. It needs to handle high current to crank the engine effectively.
- Battery-to-Ground Cable: This cable connects the negative terminal of the battery to the vehicle’s chassis or ground. It ensures a complete circuit for electrical systems.
- Accessory Cables: These cables supply power to various vehicle accessories, like lights, radios, and power outlets.
Maintenance and Care
Proper maintenance of your battery terminals and cables is essential for the longevity and reliability of your vehicle’s electrical system. Here are some tips:
- Regular Inspection: Check your battery terminals and cables for corrosion, loose connections, or fraying. Clean any corrosion with a mixture of baking soda and water, and ensure the connections are snug.
- Tighten Connections: Loose connections can lead to electrical problems. Make sure that the battery terminals are securely fastened, but be cautious not to overtighten and damage them.
- Replace Damaged Cables: If you notice frayed or damaged cables, it’s crucial to replace them promptly. Damaged cables can lead to electrical shorts and other issues.
- Protect Against Corrosion: Apply a battery terminal protector or grease to prevent corrosion. This is particularly important in regions with high humidity or salt exposure.
Troubleshooting Common Issues
1. Loose Connections
- Symptoms: Intermittent electrical connections, equipment malfunction, or complete power loss.
- Causes: Vibration, inadequate tightening during installation, or corrosion buildup.
- Troubleshooting Steps:
- Inspect terminal connections for signs of looseness.
- Tighten terminals to manufacturer-recommended torque specifications.
- Consider using lock washers or locking nuts to prevent loosening due to vibration.
- Clean terminals and cable ends before re-tightening.
2. Corrosion Buildup
- Symptoms: Greenish-white deposits on terminals, reduced conductivity, and increased resistance.
- Causes: Exposure to moisture, electrolyte leakage, or incompatible metal combinations.
- Troubleshooting Steps:
- Disconnect cables and terminals.
- Clean terminals and cable ends using a wire brush, battery terminal cleaner, or a mixture of baking soda and water.
- Apply a corrosion inhibitor or terminal protector spray after cleaning.
- Consider using corrosion-resistant terminals and cables for long-term prevention.
3. Voltage Drops and Resistance Issues
- Symptoms: Dimming lights, slow cranking, or erratic electrical behavior.
- Causes: High resistance in cables or terminals, inadequate cable sizing, or poor connections.
- Troubleshooting Steps:
- Measure voltage drop across terminals and cables using a multimeter.
- Ensure cables are properly sized for the application, considering length and current requirements.
- Check for damaged or corroded cables and terminals.
- Verify that terminals are securely tightened and making good contact.
- Replace damaged or undersized cables to reduce resistance.
4. Overheating
- Symptoms: Hot to the touch terminals or cables, melting insulation, or burning smells.
- Causes: Excessive current flow, undersized cables, or poor connections leading to resistance.
- Troubleshooting Steps:
- Disconnect the battery from the circuit immediately if overheating is detected.
- Inspect cables and terminals for signs of damage or corrosion.
- Verify that cable sizes are adequate for the current requirements of the system.
- Check for loose or improperly tightened connections.
- Consider upgrading to higher gauge cables or improving ventilation around the battery to dissipate heat.
5. Insulation Damage
- Symptoms: Exposed wire strands, cracked or melted insulation, or visible damage to cable jackets.
- Causes: Physical abrasion, exposure to heat or chemicals, or rodent damage.
- Troubleshooting Steps:
- Inspect cables for signs of damage, focusing on areas where cables may come into contact with sharp edges or heat sources.
- Replace damaged cables or apply electrical tape or heat shrink tubing to repair minor insulation damage.
- Consider installing protective sleeves or conduit to shield cables from environmental hazards.
6. Excessive Voltage Drop During Cranking
- Symptoms: Difficulty starting the engine, slow cranking speed, or repeated starting failures.
- Causes: High resistance in cables or terminals, inadequate battery capacity, or starter motor issues.
- Troubleshooting Steps:
- Measure voltage drop across cables and terminals during cranking using a multimeter.
- Check battery condition and capacity using a load tester.
- Inspect starter motor and related components for signs of wear or damage.
- Clean and tighten terminals, and replace damaged cables to reduce resistance during cranking.
7. Systematic Testing
- Symptoms: Intermittent issues, uncertain diagnosis, or recurring problems.
- Causes: Complex electrical systems, multiple potential failure points, or hidden defects.
- Troubleshooting Steps:
- Develop a systematic testing procedure to isolate and diagnose problems.
- Start by verifying battery voltage, then move systematically through the electrical system, checking connections, cables, and components.
- Use diagnostic tools such as a multimeter, circuit tester, or oscilloscope to measure voltages, currents, and signal integrity at various points in the system.
- Refer to wiring diagrams and technical manuals for guidance on system operation and component locations.
Note:
If troubleshooting efforts fail to resolve the issue or if safety is a concern, it’s advisable to consult with a qualified technician or electrician for further assistance.
Is Red Positive or Negative?
In the context of electrical systems, the convention is that red is typically used to indicate the positive or hot wire. Black is often used for the negative or ground wire. This color coding is not a strict rule, and in some cases, you may encounter different color codes depending on local electrical standards, equipment manufacturers, or specific applications.
It’s essential to verify the color-coding of wires in any electrical system you are working with, especially when dealing with wiring in a vehicle, household, or industrial setting. Always follow the color codes and labeling specified in the relevant documentation or markings on the wires to ensure proper electrical connections and safety.
How to Test Red or Black Wires/Cables For Their Polarity?
Testing the polarity of red or black wires or cables is a crucial step in electrical work to ensure proper connections and prevent electrical problems. Here’s how you can test the polarity of wires or cables:
Materials Needed:
- Multimeter: You’ll need a digital multimeter, which is a versatile tool for measuring voltage, resistance, and other electrical properties.
- Safety Gear: Always wear appropriate safety gear, including safety glasses and insulated gloves, when working with electrical systems to prevent accidents.
Testing Polarity:
- Turn Off Power: If you are working with a live electrical circuit, make sure to turn off the power at the source or disconnect the power source to the circuit you are testing. Safety should always be a priority.
- Set Multimeter to Voltage Mode: Switch your multimeter to the “Voltage” or “DC Voltage” setting. If you’re unsure which setting to use, consult your multimeter’s user manual.
- Connect Leads: On most multimeters, there are two leads: a red lead and a black lead. Follow these steps:
- Connect the red lead to the red wire or cable you want to test.
- Connect the black lead to the black wire or cable you want to test.
- Read the Display: Once the leads are connected, you can read the multimeter’s display. If you’re testing a DC circuit, the display should indicate a positive (+) or negative (-) voltage value. This will tell you the polarity of the wires or cables you’re testing.
- If the display shows a positive voltage value (e.g., +12V), it means the red wire is positive, and the black wire is negative (ground).
- If the display shows a negative voltage value (e.g., -12V), it means the black wire is positive, and the red wire is negative (ground).
- Verify Continuity: To further ensure that you’ve correctly identified the polarity, you can also check for continuity. This means checking if the wires are properly connected at both ends. Here’s how:
- Disconnect the wires at both ends (e.g., at the source and at the load).
- Set your multimeter to the “Continuity” or “Ohms” mode.
- Touch one lead to one end of the wire, and touch the other lead to the corresponding end of the wire. If you hear a beep or see the resistance value drop to near zero, it indicates continuity and proper polarity.
Remember to follow safety precautions, and if you’re not confident in your abilities, it’s best to seek help from a qualified electrician. Incorrectly connecting wires with reversed polarity can lead to electrical hazards and damage to equipment.
Battery Terminals and Cables FAQS
What are battery terminals and cables?
Battery terminals are metal connectors attached to a vehicle’s battery that allow electrical connections. Cables are conductive wires that connect these terminals to various electrical components in the vehicle.
Why are battery terminals and cables important?
They play a crucial role in supplying power to start the engine, operate lights, accessories, and recharge the battery. Properly functioning terminals and cables ensure a reliable electrical system.
What are the types of battery terminals?
Common types include top-post terminals (standard), side-post terminals, and marine terminals. Each type serves different applications and may have specific features.
What materials are used for battery terminals and cables?
Battery terminals are often made of lead, while cables are typically composed of copper or aluminum for conductivity and durability.
How do I clean corroded battery terminals?
Mix a solution of baking soda and water, disconnect the terminals, and scrub the corroded areas with a wire brush or toothbrush. Rinse with water and dry thoroughly before reconnecting.
Can I replace battery cables myself?
Yes, you can replace battery cables, but it’s essential to follow proper safety procedures and disconnect the battery before starting. If you’re unsure, it’s best to seek professional help.
What is the difference between positive and negative battery cables?
The positive cable typically connects to the positive battery terminal and powers the vehicle’s electrical components. The negative cable connects to the negative terminal and provides a ground connection for the electrical system.
Why should I avoid overtightening battery terminal connections?
Overtightening can damage the battery terminal, causing cracks or breaks, and lead to poor electrical connections. Snug but not excessively tight is the recommended connection.
How often should I inspect battery terminals and cables?
Regularly inspect battery terminals and cables during routine maintenance or if you experience electrical problems. Checking every few months is a good practice.
Can damaged battery cables lead to vehicle issues?
Yes, damaged or corroded cables can result in electrical issues, including poor starting, charging problems, and even a stalled engine.
What is the purpose of a battery terminal protector or grease?
These products help prevent corrosion on battery terminals by creating a protective barrier. They are especially useful in areas with high humidity or salt exposure.
Can I use any wire for battery cables?
It’s crucial to use cables specifically designed for automotive or marine applications. These cables are designed to handle the high electrical currents required by vehicle systems.
How do I know if I have a faulty battery cable or terminal?
Common signs include difficulty starting your vehicle, dimming headlights, intermittent electrical issues, or visible damage to cables or terminals.
Conclusion
In the grand scheme of your vehicle’s operation, battery terminals and cables might seem insignificant, but they are critical components that ensure your vehicle starts reliably and functions properly. Regular maintenance and care for these components can save you from unexpected breakdowns and costly repairs. Understanding their importance and taking proper measures to keep them in good condition is a responsible step toward maintaining your vehicle’s overall health and performance.