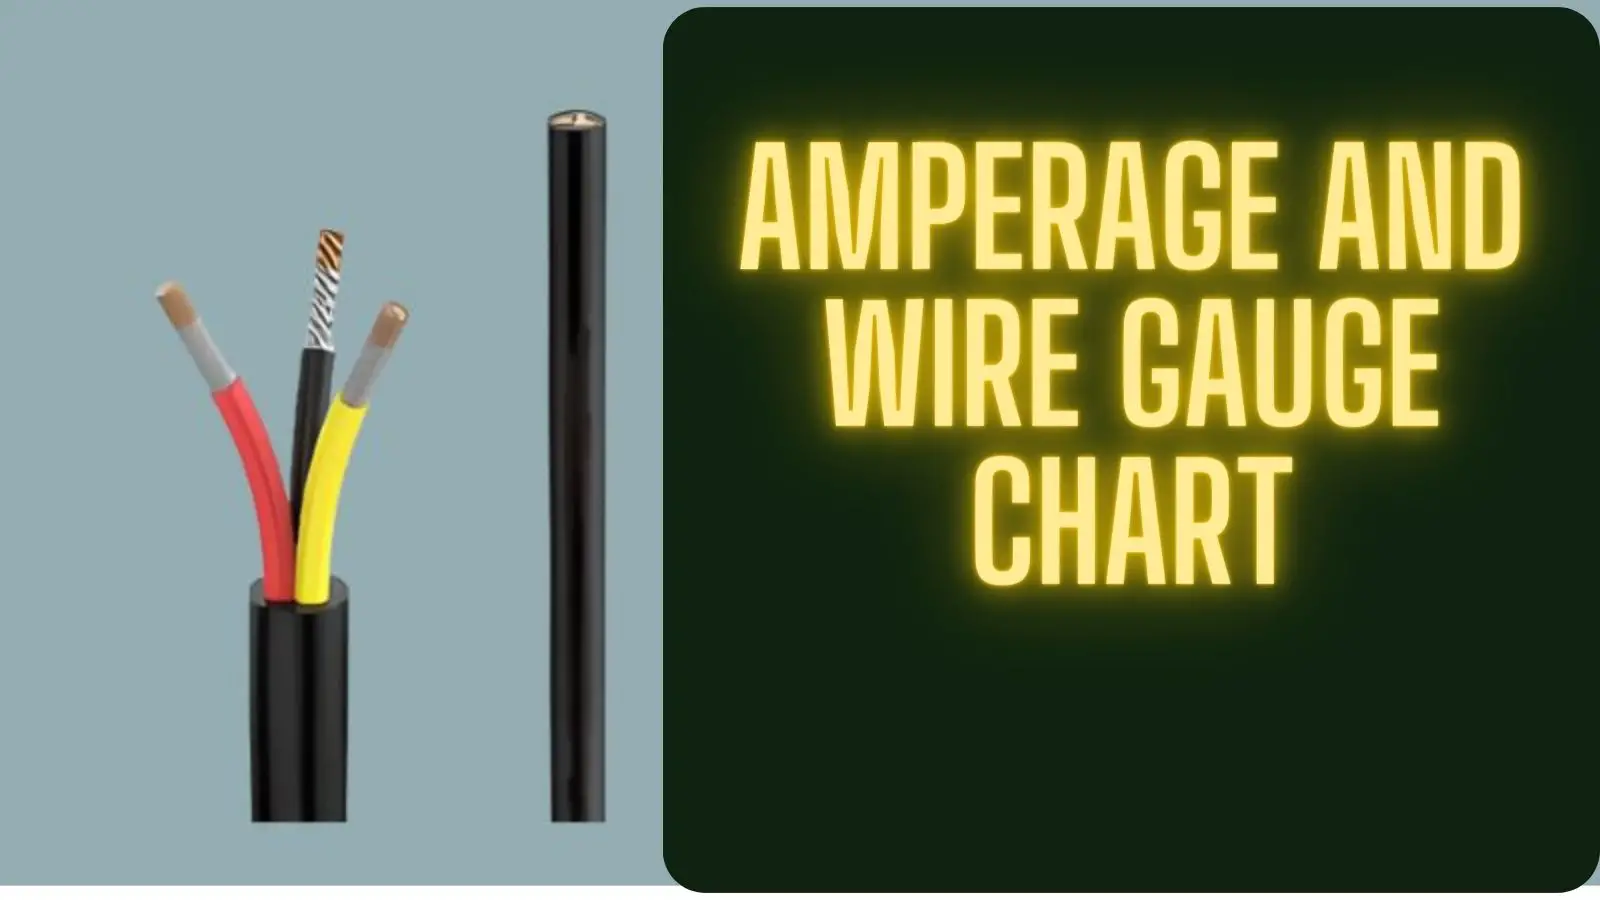
Amperage and Wire Gauge Chart: Understanding Electrical Wire Sizing
Introduction
Electrical wiring is a vital aspect of any building’s infrastructure, from residential homes to industrial facilities. Choosing the correct wire size, also known as wire gauge, is essential to ensure safe and efficient electrical installations. The relationship between amperage (current) and wire gauge plays a significant role in determining the appropriate wire size for different electrical applications. Let’s delve into the importance of wire gauge and amperage, as well as how to use an amperage and wire gauge chart effectively.
Understanding Amperage and Wire Gauge:
Amperage refers to the amount of electric current flowing through a wire or circuit. It’s a crucial factor in determining the wire gauge required for a specific application. The higher the amperage, the thicker the wire needs to be to accommodate the current without overheating.
Wire gauge, on the other hand, indicates the diameter of a wire. Smaller gauge numbers represent thicker wires, while larger gauge numbers represent thinner wires. The American Wire Gauge (AWG) system is commonly used for standardizing wire sizes. As the wire gauge increases, the wire’s cross-sectional area decreases.
The Importance of Wire Gauge:
Using the appropriate wire gauge is crucial for several reasons:
- Safety: Overloading a wire with excessive current due to a mismatched wire gauge can lead to overheating, which poses a fire hazard.
- Performance: Wires that are too small for the intended current may experience voltage drops, affecting the performance of electrical devices.
- Efficiency: Properly sized wires ensure efficient power transmission, reducing energy wastage.
- Durability: Adequate wire size helps prevent physical damage and wear, ensuring the longevity of the electrical system.
Amperage and Wire Gauge Chart:
An amperage and wire gauge chart is a tool that helps users select the correct wire gauge based on the expected amperage of a circuit. It provides a quick reference for determining the suitable wire size for various applications. These charts typically list wire gauge sizes alongside corresponding ampere ratings.
| Amperage (A) | Wire Gauge (AWG) |
|---|---|
| Up to 15 | 14 |
| 15 – 20 | 12 |
| 20 – 30 | 10 |
| 30 – 40 | 8 |
| 40 – 55 | 6 |
| 55 – 70 | 4 |
| 70 – 85 | 3 |
| 85 – 100 | 2 |
| 100 – 115 | 1 |
| 115 – 130 | 1/0 (pronounced “one-aught”) |
| 130 – 150 | 2/0 |
| 150 – 175 | 3/0 |
| 175 – 200 | 4/0 |
| 200 – 230 | 250 kcmil |
Using the Chart:
- Identify Amperage: Determine the maximum current (amperage) that the circuit or device will draw. This is often provided by the manufacturer or can be calculated based on the devices connected to the circuit.
- Locate the Chart: Find an amperage and wire gauge chart online, in electrical reference books, or on the packaging of wire spools.
- Match Amperage: Locate the amperage value on the chart and follow the row to find the corresponding recommended wire gauge size.
- Select the Wire: Choose a wire gauge that is equal to or larger than the recommended size. If in doubt, it’s safer to opt for a slightly larger gauge.
Considerations:
Keep in mind that factors like wire length and the material of the wire also influence the selection of wire gauge. Longer wire runs require thicker wires to compensate for voltage drops. Copper wires are commonly used due to their high conductivity and lower resistance compared to aluminum wires.
Factors Affecting Wire Gauge Selection
When selecting the appropriate wire gauge for an electrical application, several factors need to be considered to ensure safety, performance, and compliance with electrical codes and standards. Here are the main factors affecting wire gauge selection:
- Current (Amperage) Requirements: The most critical factor in wire gauge selection is the maximum current (amperage) that the wire will carry. Higher current requirements necessitate thicker wires with lower gauge numbers to minimize resistance and prevent overheating.
- Voltage Drop: Voltage drop refers to the reduction in voltage along the length of the wire due to its resistance. For long wire runs or applications sensitive to voltage variations, such as motors or sensitive electronics, it’s essential to minimize voltage drop by using thicker wires or reducing the wire length.
- Ambient Temperature: Ambient temperature affects the temperature rating and current-carrying capacity of the wire. Higher temperatures reduce the wire’s current-carrying capacity, while lower temperatures may allow for increased current capacity. Ensure the selected wire gauge can handle the expected temperature conditions in the installation environment.
- Installation Method: The method of wire installation, such as conduit, cable tray, or direct burial, influences the wire’s current-carrying capacity and temperature rating. Different installation methods may require specific types of wire insulation or protection, affecting the choice of wire gauge.
- Voltage Rating: Ensure that the wire’s voltage rating matches or exceeds the voltage of the electrical circuit. Using wires with insufficient voltage ratings can lead to insulation breakdown and safety hazards.
- National and Local Electrical Codes: Compliance with national and local electrical codes and standards is essential for safety and regulatory compliance. These codes specify minimum wire gauge requirements based on factors such as current capacity, insulation type, and environmental conditions.
- Circuit Protection: Consider the type of circuit protection (e.g., fuses, circuit breakers) used to safeguard the electrical circuit. Proper wire gauge selection ensures compatibility with the circuit protection devices and prevents overloading the circuit.
- Cost and Availability: While safety and performance are paramount, cost and availability considerations may influence the choice of wire gauge. Thicker wires with lower gauge numbers are generally more expensive and may be less readily available than thinner wires.
- Future Expansion: Anticipate future expansion or changes to the electrical system when selecting wire gauge. Choosing a wire gauge with sufficient capacity for potential future loads avoids the need for costly rewiring or upgrades later on.
By carefully considering these factors, electrical engineers, contractors, and DIY enthusiasts can select the appropriate wire gauge for their specific application, ensuring reliable and safe electrical installations. It’s essential to consult relevant electrical codes and standards and seek professional advice when in doubt about wire gauge selection.
Application Examples
Here are some application examples illustrating how wire gauge selection is influenced by various factors:
- Residential Wiring:
- Scenario: Installing wiring for lighting circuits in a residential home.
- Factors: Considerations include the maximum current expected for lighting loads, voltage drop over the length of the wiring runs, and compliance with local electrical codes.
- Wire Gauge Selection: Typically, 14 AWG (American Wire Gauge) copper wire is used for lighting circuits in residential applications, as it can handle up to 15 amps and is suitable for most lighting loads while minimizing voltage drop.
- Industrial Motor Circuits:
- Scenario: Wiring for motor circuits in an industrial facility.
- Factors: Factors to consider include the starting and running currents of the motors, ambient temperature in the facility, and the length of the wiring runs.
- Wire Gauge Selection: Depending on the motor size and current requirements, larger wire gauges such as 10 AWG or 8 AWG may be used to handle higher currents and minimize voltage drop, especially for longer wiring runs.
- Outdoor Lighting and Landscape Wiring:
- Scenario: Installing wiring for outdoor lighting and landscape fixtures.
- Factors: Considerations include exposure to environmental elements, voltage drop over long wiring runs, and compliance with outdoor electrical codes.
- Wire Gauge Selection: Thicker wire gauges, such as 12 AWG or even 10 AWG, are commonly used for outdoor lighting installations to minimize voltage drop and withstand exposure to moisture and temperature variations.
- Data Center Power Distribution:
- Scenario: Wiring for power distribution in a data center facility.
- Factors: Considerations include the high current demands of server racks and equipment, the need for redundancy and reliability, and compliance with data center electrical standards.
- Wire Gauge Selection: Heavy-duty wire gauges such as 6 AWG or 4 AWG may be used for power distribution within data center facilities to handle high currents and ensure reliability under load.
- Automotive Wiring:
- Scenario: Wiring for automotive applications, such as powering accessories or aftermarket upgrades.
- Factors: Considerations include the current requirements of the accessories, voltage drop over the wiring runs, and the vehicle’s operating environment.
- Wire Gauge Selection: Wire gauges ranging from 18 AWG to 10 AWG are commonly used for automotive wiring, depending on the current requirements of the accessories and the length of the wiring runs.
These application examples demonstrate how wire gauge selection is influenced by factors such as current requirements, voltage drop considerations, environmental conditions, and compliance with applicable codes and standards. By carefully evaluating these factors, appropriate wire gauges can be selected to ensure safe, reliable, and efficient electrical installations across various applications.
Safety Considerations
Safety considerations are paramount when working with electrical wiring and should always be prioritized to prevent accidents, injuries, and damage to property. Here are some essential safety considerations when dealing with electrical wiring:
- Turn Off Power: Before working on any electrical wiring or equipment, always turn off the power at the circuit breaker or fuse box to prevent the risk of electric shock. Use a voltage tester to verify that the circuit is de-energized before proceeding.
- Use Proper Tools and Equipment: Use insulated tools and equipment specifically designed for electrical work to minimize the risk of electrical shock. Ensure that tools are in good condition and free of defects that could pose safety hazards.
- Wear Personal Protective Equipment (PPE): Wear appropriate PPE, including insulated gloves, safety glasses, and non-conductive footwear, when working with electrical wiring to protect against electric shock and other hazards.
- Follow Electrical Codes and Standards: Adhere to national and local electrical codes and standards when installing, repairing, or modifying electrical wiring. Compliance with these regulations ensures safety and reduces the risk of electrical hazards.
- Proper Wire Gauge Selection: Select the appropriate wire gauge for the intended application based on current-carrying capacity, voltage rating, and environmental conditions. Using wires with inadequate gauge sizes can lead to overheating, insulation damage, and fire hazards.
- Avoid Overloading Circuits: Do not overload electrical circuits by connecting too many devices or appliances to a single circuit. Distribute loads evenly across circuits and use circuit breakers or fuses with appropriate ratings to protect against overloads and short circuits.
- Proper Wire Installation: Install wiring properly, following manufacturer recommendations and best practices. Ensure that wires are securely fastened, properly supported, and protected from physical damage, moisture, and excessive heat.
- Inspect Wiring Regularly: Periodically inspect electrical wiring for signs of wear, damage, or deterioration, such as frayed insulation, loose connections, or overheating. Promptly repair or replace any damaged wiring to prevent safety hazards.
- Keep Work Area Clean and Dry: Maintain a clean, dry work area when working with electrical wiring to reduce the risk of accidents and electrical faults. Avoid working in wet conditions and use moisture-resistant wiring where necessary.
- Seek Professional Assistance: If you’re unsure about any aspect of electrical wiring installation or repair, or if the project involves complex wiring systems or high-voltage circuits, seek professional assistance from a licensed electrician to ensure safety and compliance with electrical codes.
By following these safety considerations and exercising caution when working with electrical wiring, you can minimize the risk of accidents and ensure a safe and successful electrical installation or repair project. Safety should always be the top priority when working with electricity.
Common Wiring Issues and Troubleshooting
Common wiring issues can arise in electrical systems due to various factors such as wear and tear, improper installation, or environmental conditions. Here are some common wiring issues and troubleshooting steps to address them:
- Overheating:
- Symptoms: Signs of overheating include burning smells, discoloration of wires or electrical components, or tripping circuit breakers/fuses.
- Troubleshooting: Check for loose connections, overloaded circuits, or damaged insulation. Ensure proper wire gauge selection and adequate ventilation around electrical components. Address any issues promptly to prevent fire hazards.
- Loose Connections:
- Symptoms: Intermittent power loss, flickering lights, or sparking at electrical outlets or switches.
- Troubleshooting: Tighten terminal screws or wire nuts at electrical connections. Inspect for signs of corrosion or damage. Consider using wire connectors or crimping tools for secure connections. Replacing damaged components may be necessary.
- Short Circuits:
- Symptoms: Circuit breakers constantly tripping, sparking or arcing at electrical outlets or switches.
- Troubleshooting: Inspect wiring for exposed conductors or damaged insulation causing short circuits. Check for faulty appliances or equipment. Use a multimeter to test for continuity and isolate the short circuit.
- Voltage Drop:
- Symptoms: Dimming lights, reduced performance of electrical devices/appliances, or excessive heat buildup in wiring.
- Troubleshooting: Verify proper wire gauge selection for the intended load and length of wiring runs. Address any high-resistance connections or voltage drops by replacing or upgrading wiring as needed. Consider installing voltage stabilizers or power conditioners for sensitive equipment.
- Ground Faults:
- Symptoms: Circuit breakers tripping repeatedly, GFCI (Ground Fault Circuit Interrupter) outlets not resetting, or tingling sensations when touching electrical appliances or equipment.
- Troubleshooting: Test GFCI outlets for proper operation and reset as needed. Inspect wiring for damaged insulation or exposed conductors. Ensure proper grounding of electrical systems and equipment. Replace faulty GFCI outlets or wiring to prevent electric shock hazards.
- Arc Faults:
- Symptoms: Intermittent sparking or arcing at electrical connections, burning smells, or charred insulation.
- Troubleshooting: Install AFCI (Arc Fault Circuit Interrupter) breakers or outlets to detect and mitigate arc faults. Inspect wiring for damaged or deteriorated insulation, loose connections, or damaged conductors. Address any issues promptly to prevent fire hazards.
- Corrosion:
- Symptoms: Greenish or whitish deposits on electrical connections, increased resistance in circuits, or intermittent power loss.
- Troubleshooting: Clean corroded connections with a wire brush or electrical contact cleaner. Apply anti-corrosion compounds or dielectric grease to prevent future corrosion. Consider replacing corroded components or connections if necessary.
- Improper Wire Routing:
- Symptoms: Pinched or damaged wiring, interference with moving parts or machinery, or compromised insulation.
- Troubleshooting: Re-route wiring to avoid sharp edges, moving parts, or areas of high heat or moisture. Use cable ties or wire looms to secure wiring and maintain proper clearance from surrounding components. Replace damaged wiring or insulation as needed.
When troubleshooting wiring issues, always prioritize safety by turning off power to the affected circuits and following appropriate safety precautions. If you’re unsure about how to address a wiring issue or if it involves complex electrical systems, consider seeking assistance from a qualified electrician to ensure proper diagnosis and resolution.
Amperage and Wire Gauge FAQS
What is amperage, and why is it important in electrical systems?
Amperage, often referred to as current, is a measure of the amount of electric charge flowing through a circuit per unit of time. It’s important because it determines the amount of load a circuit can handle safely without overheating and causing potential hazards.
How does amperage relate to wire gauge?
Amperage and wire gauge are closely related because the amperage a circuit carries helps determine the appropriate wire gauge to use. Higher amperage requires thicker wire gauges to handle the current without overheating.
What is the American Wire Gauge (AWG) system?
The AWG system is a standardized method for assigning sizes to electrical wires. Smaller AWG numbers correspond to thicker wires, while larger numbers correspond to thinner wires. This system helps in selecting the right wire size for various applications.
How do I know the amperage of a circuit or device?
The amperage of a circuit or device can often be found in the manufacturer’s specifications or labels. If not provided, you can calculate it by dividing the power (in watts) by the voltage (in volts) of the circuit. For example, if a device uses 1200 watts on a 120V circuit, the amperage is 10 amps (1200W / 120V = 10A).
Can I use a smaller wire gauge than recommended for an application?
Using a smaller wire gauge than recommended can lead to overheating, voltage drops, and potentially hazardous conditions. It’s crucial to follow the recommended wire gauge for the given amperage to ensure safety and optimal performance.
Can I use a larger wire gauge than recommended for an application?
While using a larger wire gauge won’t harm the circuit, it might be unnecessary and costlier. However, if budget allows and flexibility is desired for future upgrades, using a slightly larger wire gauge can provide some benefits.
How do I account for wire length in wire gauge selection?
Longer wire runs result in higher resistance, leading to potential voltage drops. To account for this, you may need to use a thicker wire gauge than indicated solely by amperage. Voltage drop calculators or guidelines provided in electrical codes can help determine the appropriate wire size.
What happens if I overload a wire with too much amperage?
Overloading a wire with excessive amperage can cause the wire to heat up, potentially leading to melting of the insulation, fire hazards, and damage to the electrical system.
Are there exceptions or variations to wire gauge recommendations?
Specialized applications, unique environmental conditions, and specific electrical codes might warrant deviations from standard wire gauge recommendations. Consult with a qualified electrician or follow local regulations in such cases.
Can I use the same wire gauge for AC and DC circuits?
Generally, wire gauge recommendations apply to both AC and DC circuits. However, factors like voltage drop and other considerations might lead to slightly different selections for AC and DC applications.
How can I ensure safe and accurate wire gauge selection?
Consulting with a licensed electrician, referring to local electrical codes, using amperage and wire gauge charts, and considering factors like wire length and environmental conditions are essential for safe and accurate wire gauge selection.
Conclusion
In conclusion, understanding the relationship between amperage and wire gauge is essential for safe and effective electrical installations. Using an amperage and wire gauge chart as a reference tool ensures that you select the appropriate wire size for your specific application, promoting safety, efficiency, and optimal performance in electrical systems.